
📋 Your Complete Roadmap to Success
🚀 Why Straw Bales Will Change Everything
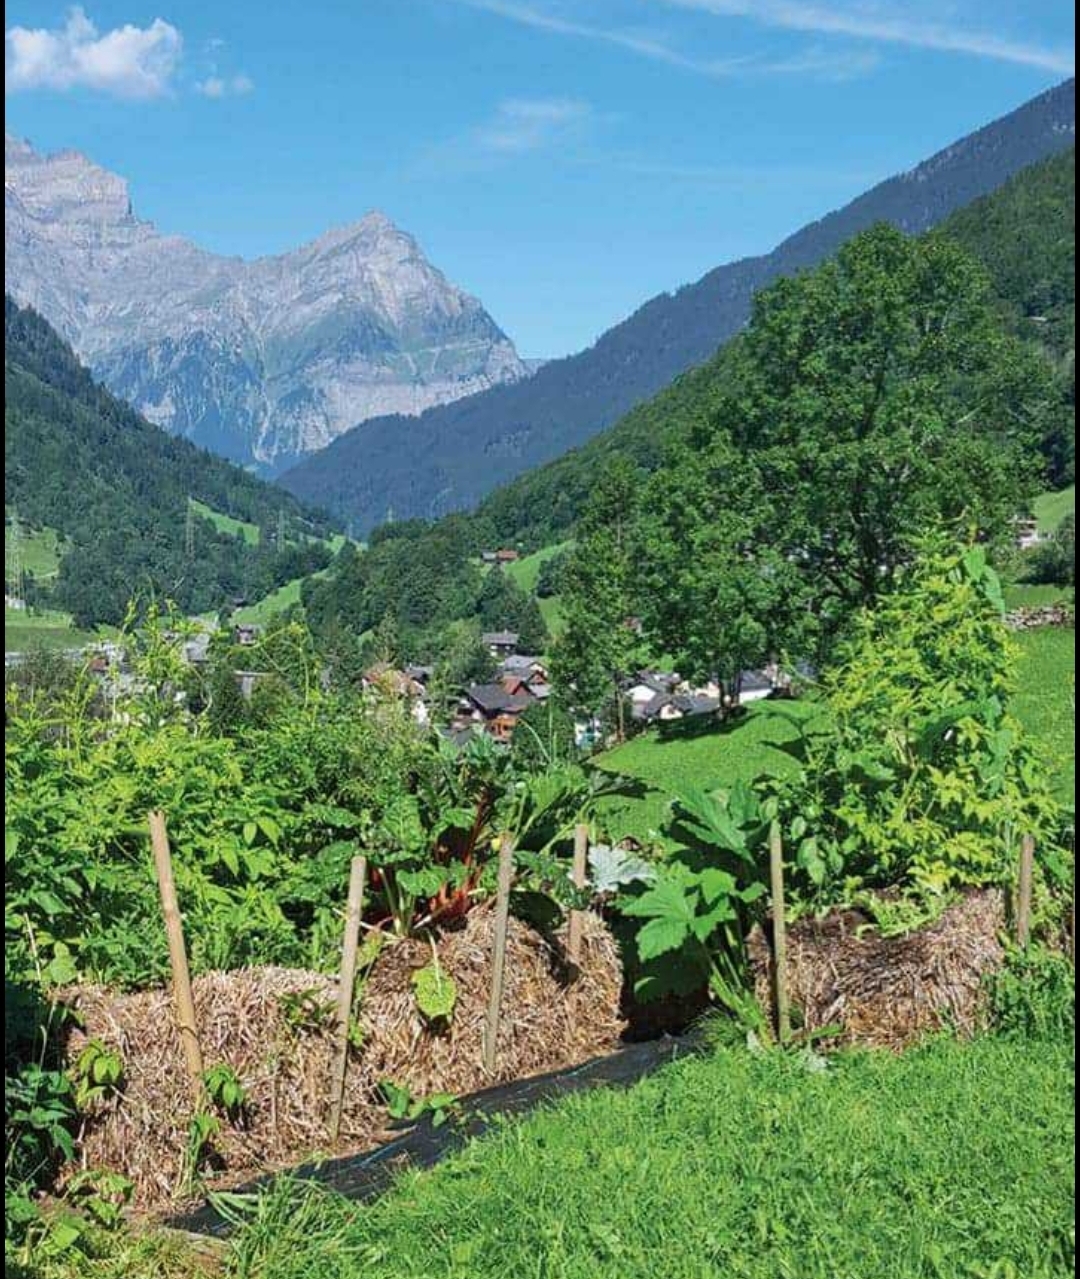
A thriving straw bale garden producing abundant vegetables in any space
The Problem with Traditional Gardening
Let's be honest: traditional gardening can be brutal. You test your soil, amend it, build raised beds, fight weeds, battle soil-borne diseases, and hope for the best. Then you wait. And wait. And sometimes, despite your best efforts, things just don't grow.
What if there was a better way?
The Straw Bale Breakthrough
Straw bale gardening turns conventional wisdom upside down. Instead of fighting your soil, you bypass it entirely. Each straw bale becomes a self-composting, self-heating, perfectly-drained raised bed that feeds your plants as it decomposes.
🔥 What Makes It Revolutionary:
- Built-in Heat System: As your bales condition, they generate internal temperatures of 85-135°F, creating perfect root zone conditions
- Perfect Drainage: No more soggy roots or waterlogged plants
- Disease-Free Growing: Start fresh every season with sterile growing medium
- Anywhere Gardening: Concrete patio? Rocky soil? Rental property? Doesn't matter.
- Back-Friendly: At 18 inches high, bales bring your garden to a comfortable working height
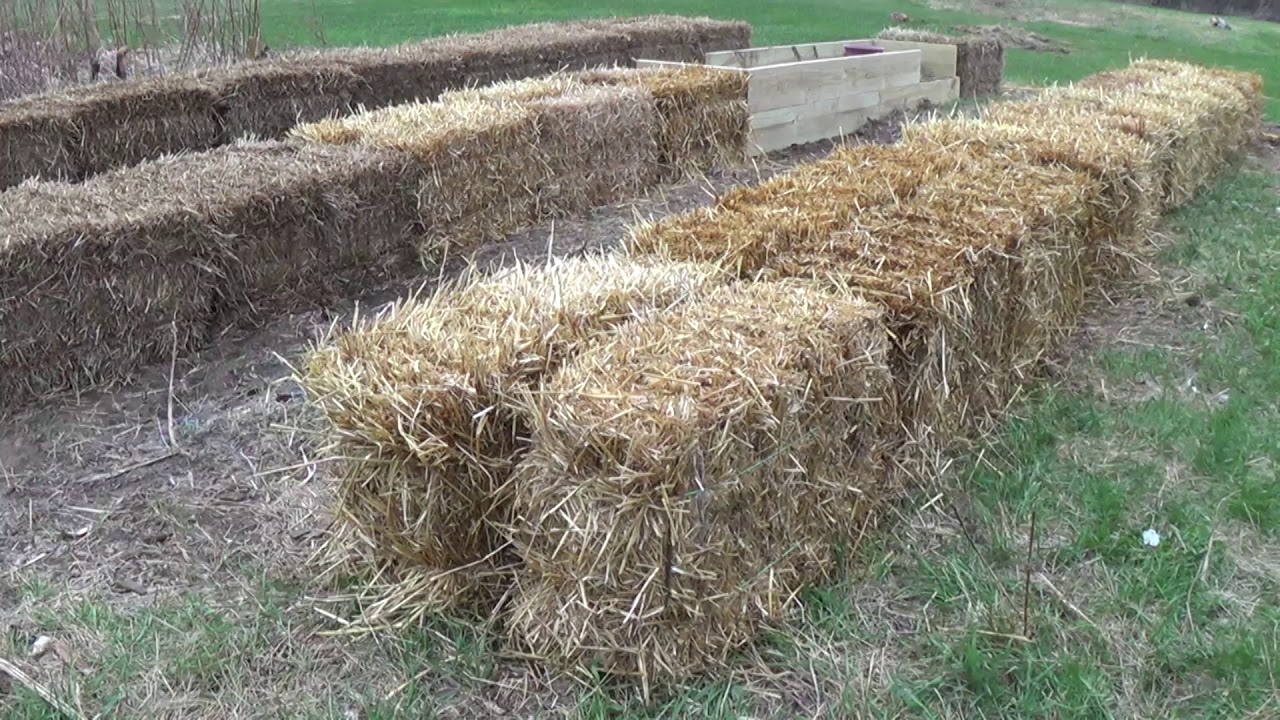
Straw bales positioned and ready for conditioning - the foundation of your garden revolution
🧬 The Science Behind the Magic
How Straw Becomes Soil Gold
When Joel Karsten pioneered modern straw bale gardening 30+ years ago, he discovered something remarkable: controlled bacterial decomposition creates ideal root zone temperatures of 85-90°F while soil temperatures remain at 50-55°F.
This isn't accidental—it's engineered. Through a careful conditioning process, you're essentially building a composting system that:
- Feeds bacteria with nitrogen to jumpstart decomposition
- Generates heat through controlled bacterial activity
- Creates nutrients as straw breaks down into plant-available minerals
- Maintains optimal moisture through the straw's natural structure
🏛 University Research Backs It Up
University extension research from institutions including UC Davis, Washington State University, and Auburn University confirms the scientific validity of this approach, documenting successful temperature control, nutrient cycling, and crop yields that match or exceed traditional gardening methods.
The result? Plants can produce twice the yield of traditional soil gardens while requiring 75% less labor.
🏗️ Setting Up for Success

Quality straw bales - the foundation of your gardening success
Choosing Your Battle-Ready Bales
Not all bales are created equal. Your success starts with selection:
The Gold Standard: Wheat straw bales represent the gold standard, followed by barley, oats, and rye straw. These materials decompose predictably and create optimal growing conditions.
What to Look For:
- Heavy, tightly compressed bales (40+ pounds for rectangular bales)
- Golden color with no signs of mold or mildew
- Cut side shows hollow straw tubes like sliced straws
- Bound with 2-3 strands of biodegradable twine or wire
⚠️ Critical Warning: Herbicide Contamination
Herbicide contamination represents the single greatest threat to straw bale garden success. Persistent herbicides like aminopyralid and clopyralid survive composting and will devastate your crops. Source bales only from organic farms or verified clean sources.
Pro Test: Test unknown bales by planting sensitive beans in straw-water mixture - healthy bean growth indicates safe straw.
The Perfect Location
Your bales need:
- 6-8 hours of direct sunlight for most vegetables (4-6 for leafy greens)
- Easy access to water (bales dry faster than soil)
- Level surface (grass, concrete, gravel—anything works)
- Good air circulation to prevent fungal issues
🌡️ Climate Tip
In hot climates, position bales where they receive afternoon shade. In cooler climates, maximize sun exposure.
Perfect location: full sun, easy water access, and level ground
⏱ The 12-Day Conditioning Protocol
This is where magic happens. Proper conditioning transforms inert straw into a living growing medium through controlled bacterial decomposition. This process cannot be rushed - shortcuts lead to plant death and garden failure.
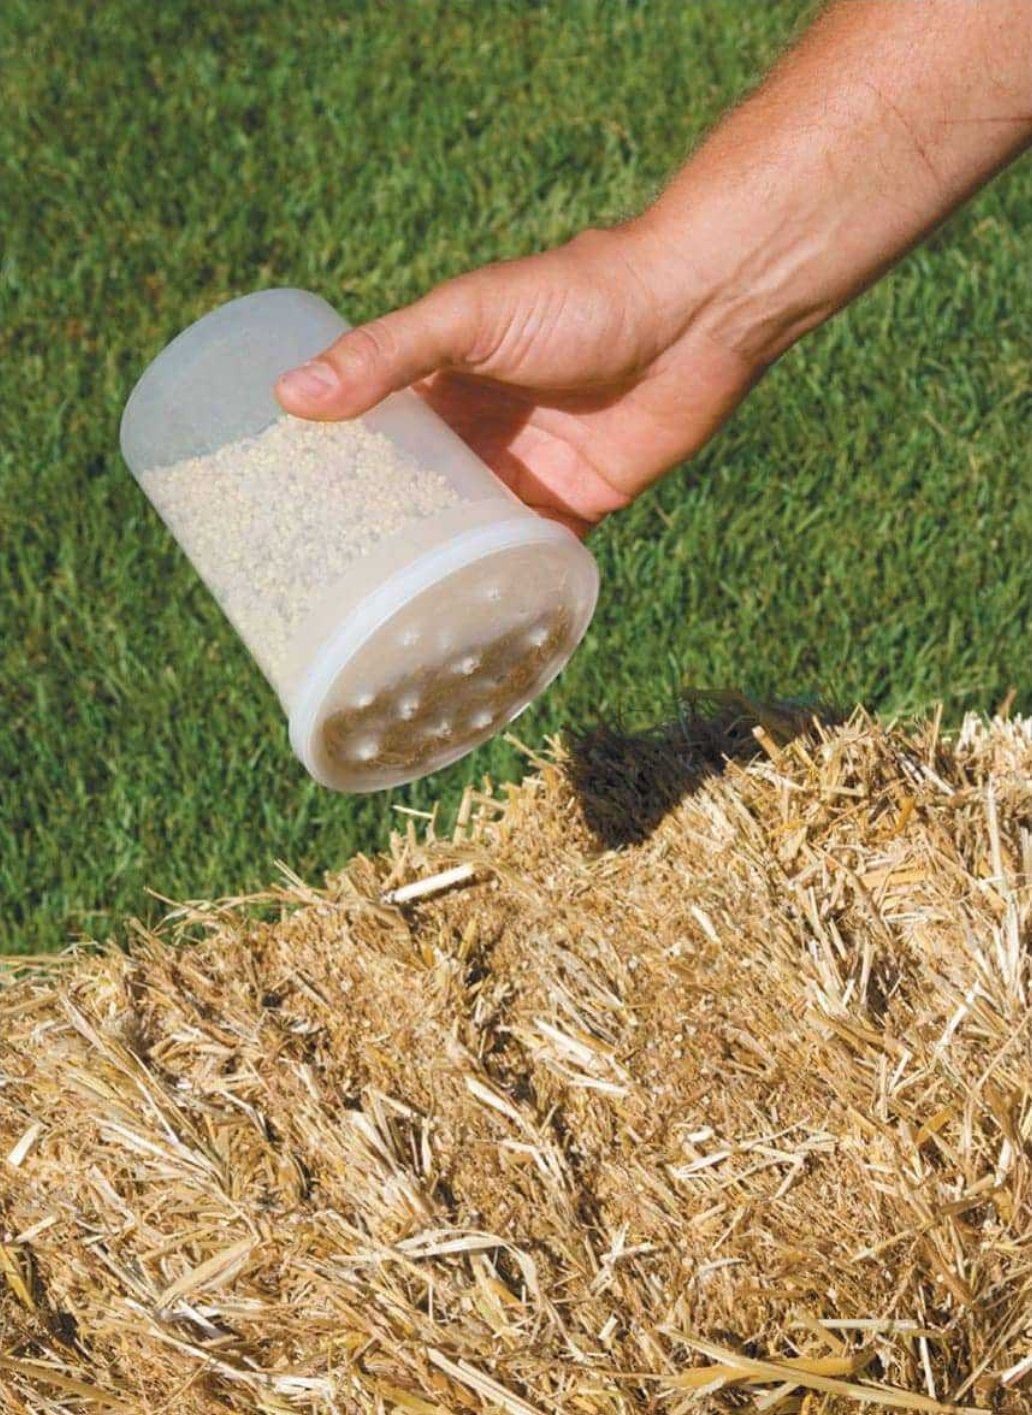
Day 1 of conditioning: applying fertilizer to begin the transformation
The Karsten Method (Synthetic Fertilizer - 12 Days)
Based on research-verified protocols from Joel Karsten's decades of testing:
| Day | Task | Notes |
|---|---|---|
| 1 | ½ cup high-nitrogen fertilizer + 10-15 gallons water | Initial saturation phase begins |
| 2 | Water only | Keep bales saturated |
| 3 | ½ cup fertilizer + water thoroughly | Bacterial activity increasing |
| 4 | Water only | Temperature should start rising |
| 5 | ½ cup fertilizer + water thoroughly | Peak heating phase approaching |
| 6 | Water only | Monitor temperature daily |
| 7-9 | ¼ cup fertilizer daily + water | Internal temps 120-140°F |
| 10 | 1 cup balanced fertilizer (10-10-10) + water | Adding phosphorus and potassium |
| 11-12 | Water only, monitor temperature | Ready when temp drops to 99°F |
🌡️ Temperature Safety Protocol
Critical: When bales are above 105 degrees, avoid planting until it cools down under 105 degrees. Even 100 degrees is a good temperature for safe planting.
If you skip temperature checking, your plant roots will be affected by the heat created from the composting process and it will kill the plants.
Testing Methods:
- Digital thermometer inserted 6 inches deep
- Hand test: should feel warm like bath water (99°F), not hot
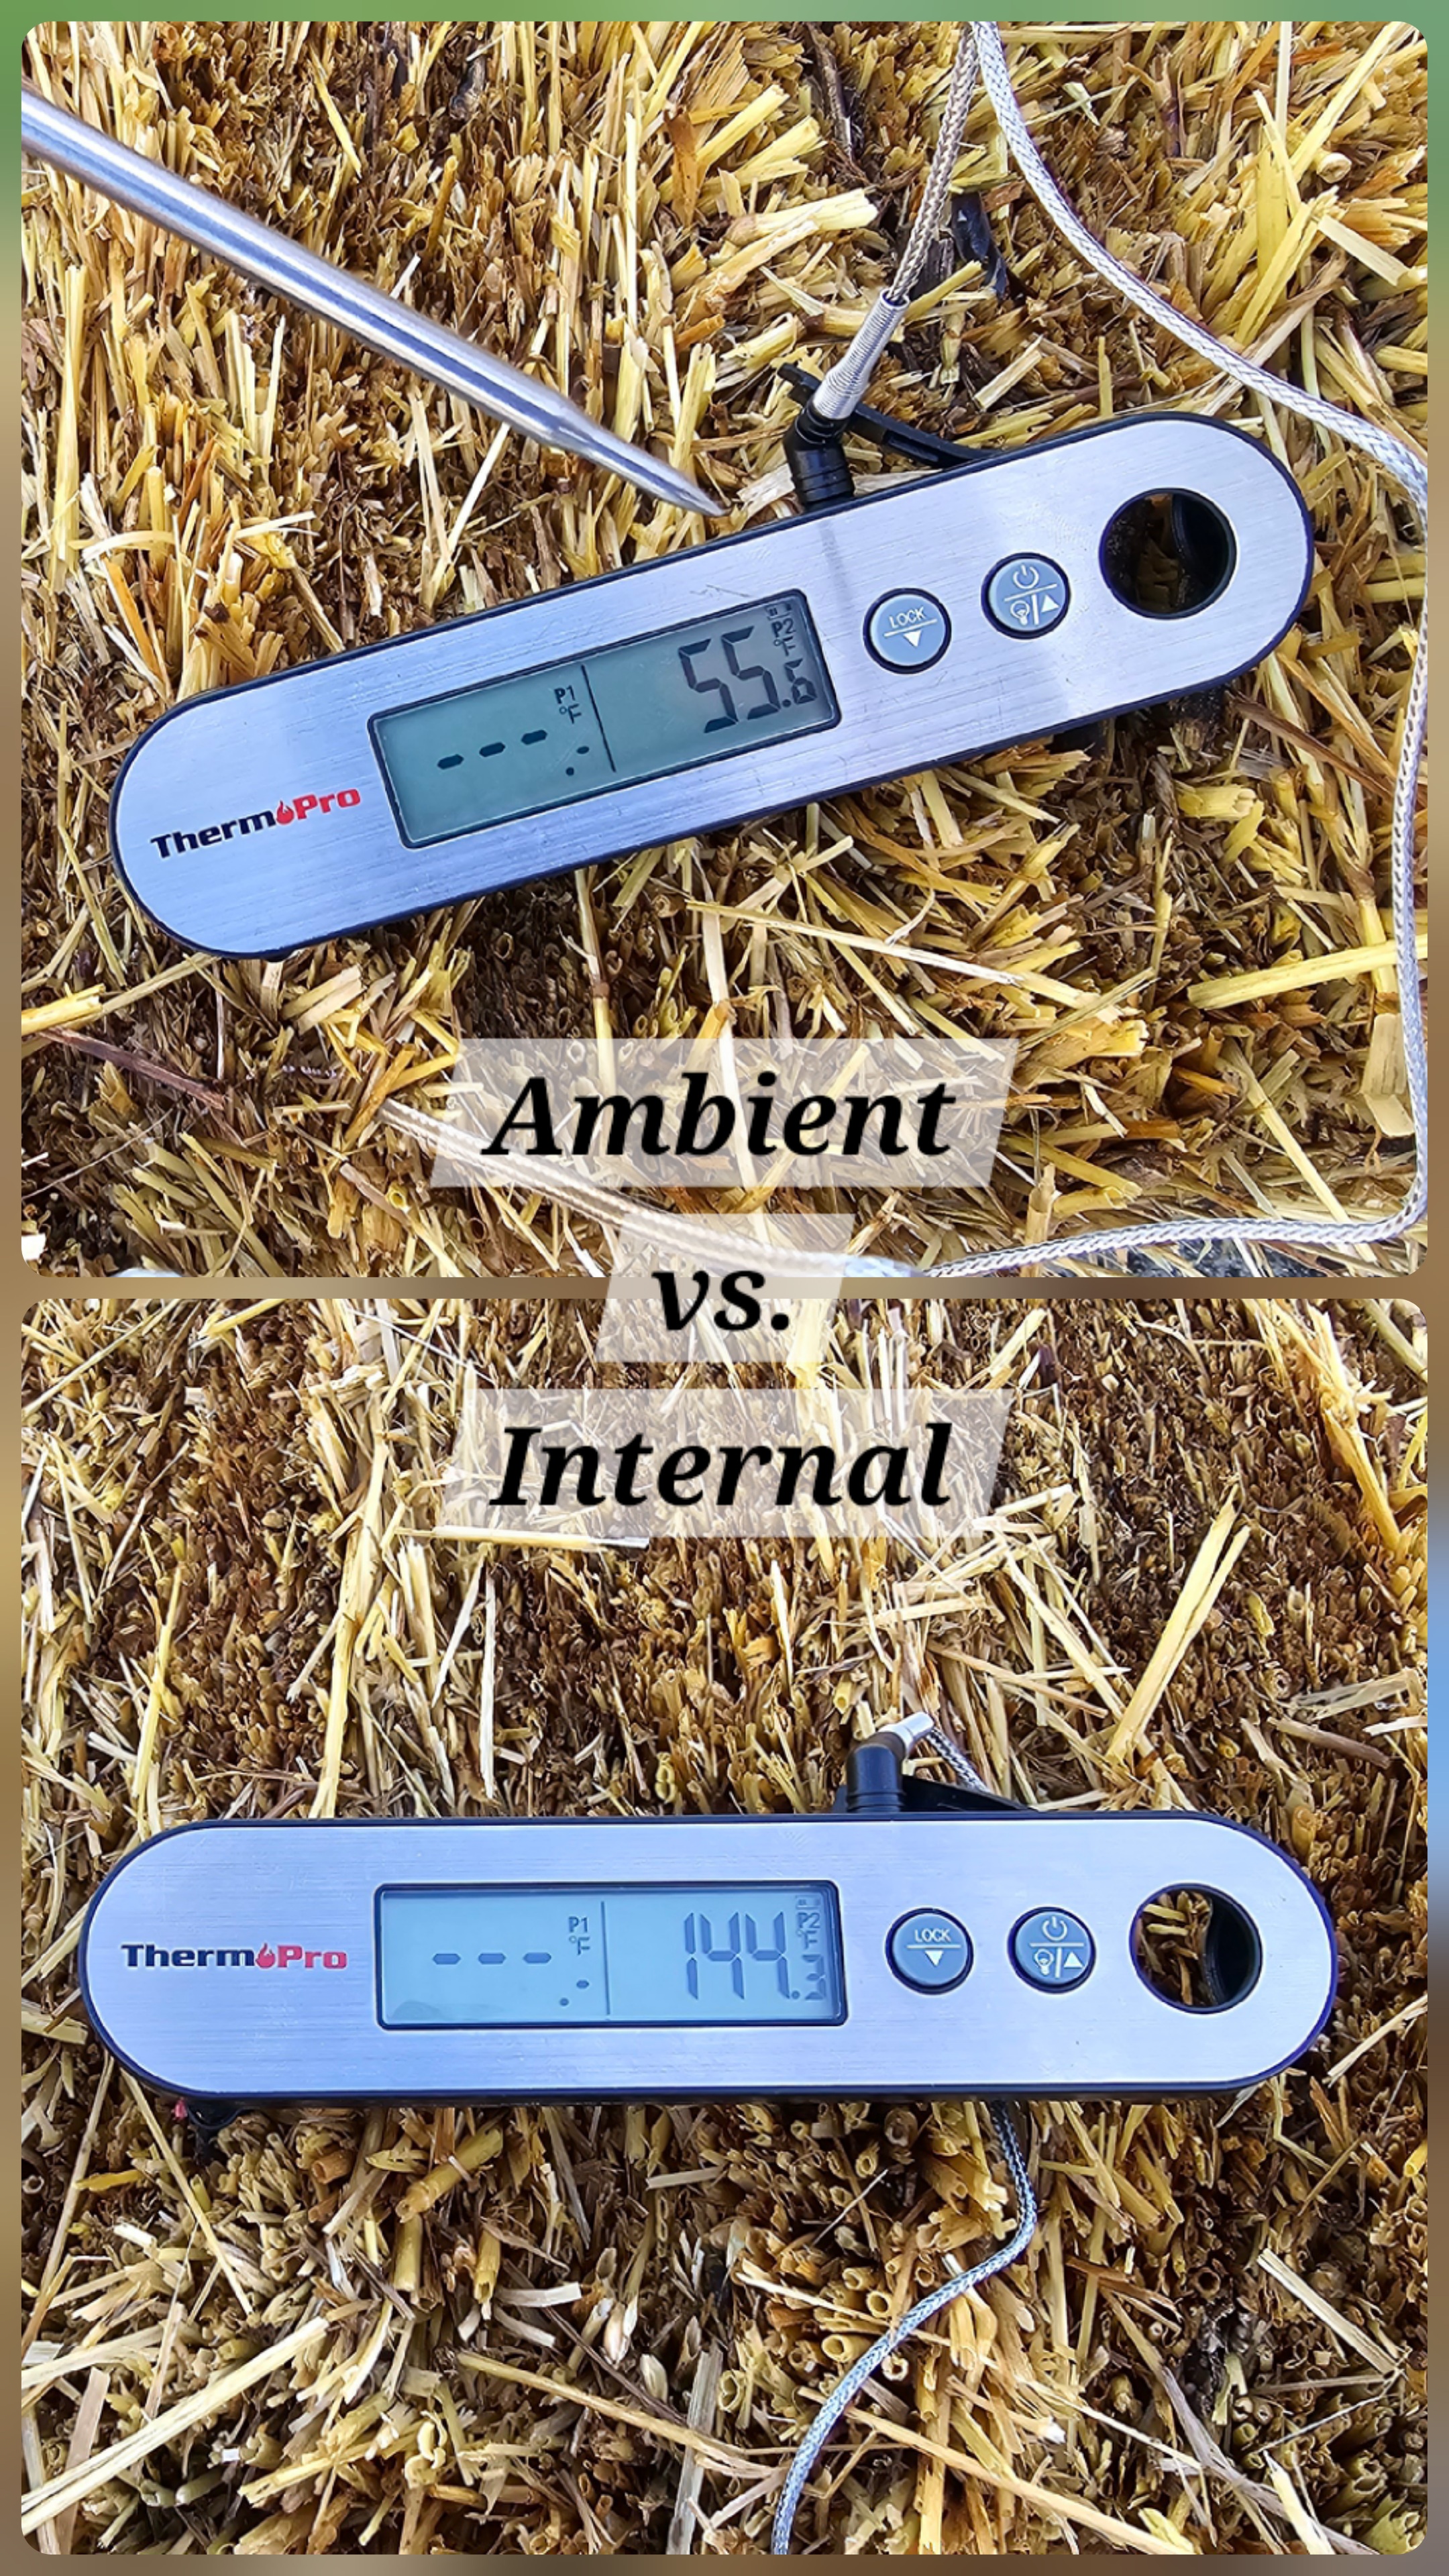
Testing bale temperature - critical for plant safety
The Organic Method (15-18 Days)
For organic gardeners, expect a longer process:
- Days 1-6: 3 cups organic nitrogen source (blood meal, feather meal) on odd days, water daily
- Days 7-12: Continue with reduced fertilizer (1.5 cups)
- Days 13-18: Water only, temperature monitoring
⏰ Important Timing Note
When using organic fertilizers, you'll need to wait an extra 5 days, as organic materials take longer to decompose.
🌱 Planting Like a Pro

Planting tomato seedlings in properly conditioned straw bales
The Transplant Method (Recommended for Beginners)
The transplant method delivers the most reliable results for beginners:
- Create planting holes using a trowel, removing straw by hand
- Add quality growing medium (sterile potting mix or compost)
- Plant at the same depth as traditional soil gardening
- Water thoroughly to establish root contact
Strategic Plant Spacing
Per Bale Guidelines:
- Large plants (tomatoes, peppers): 1-2 plants
- Medium plants (cucumbers with trellising): 2 plants
- Bush beans: 4-6 plants
- Leafy greens: 4-8 plants depending on variety
- Herbs: 3-4 plants
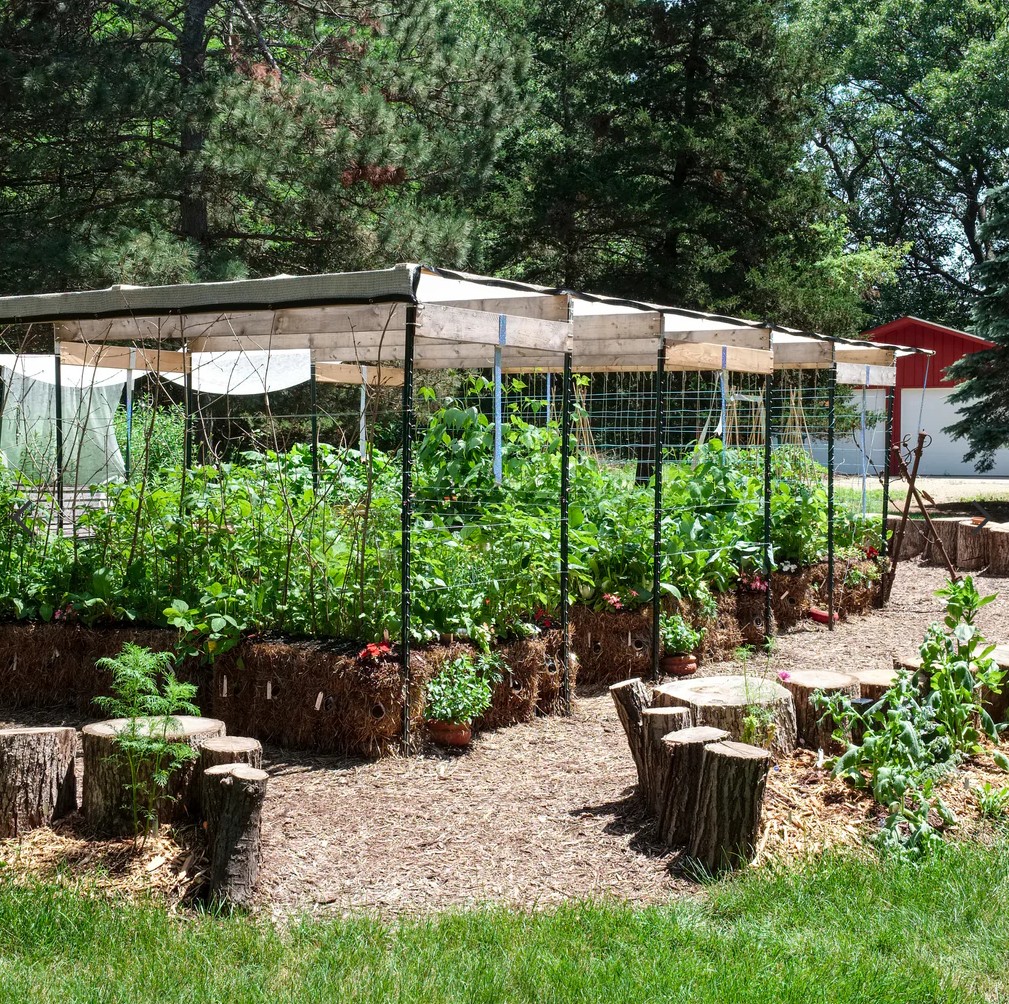
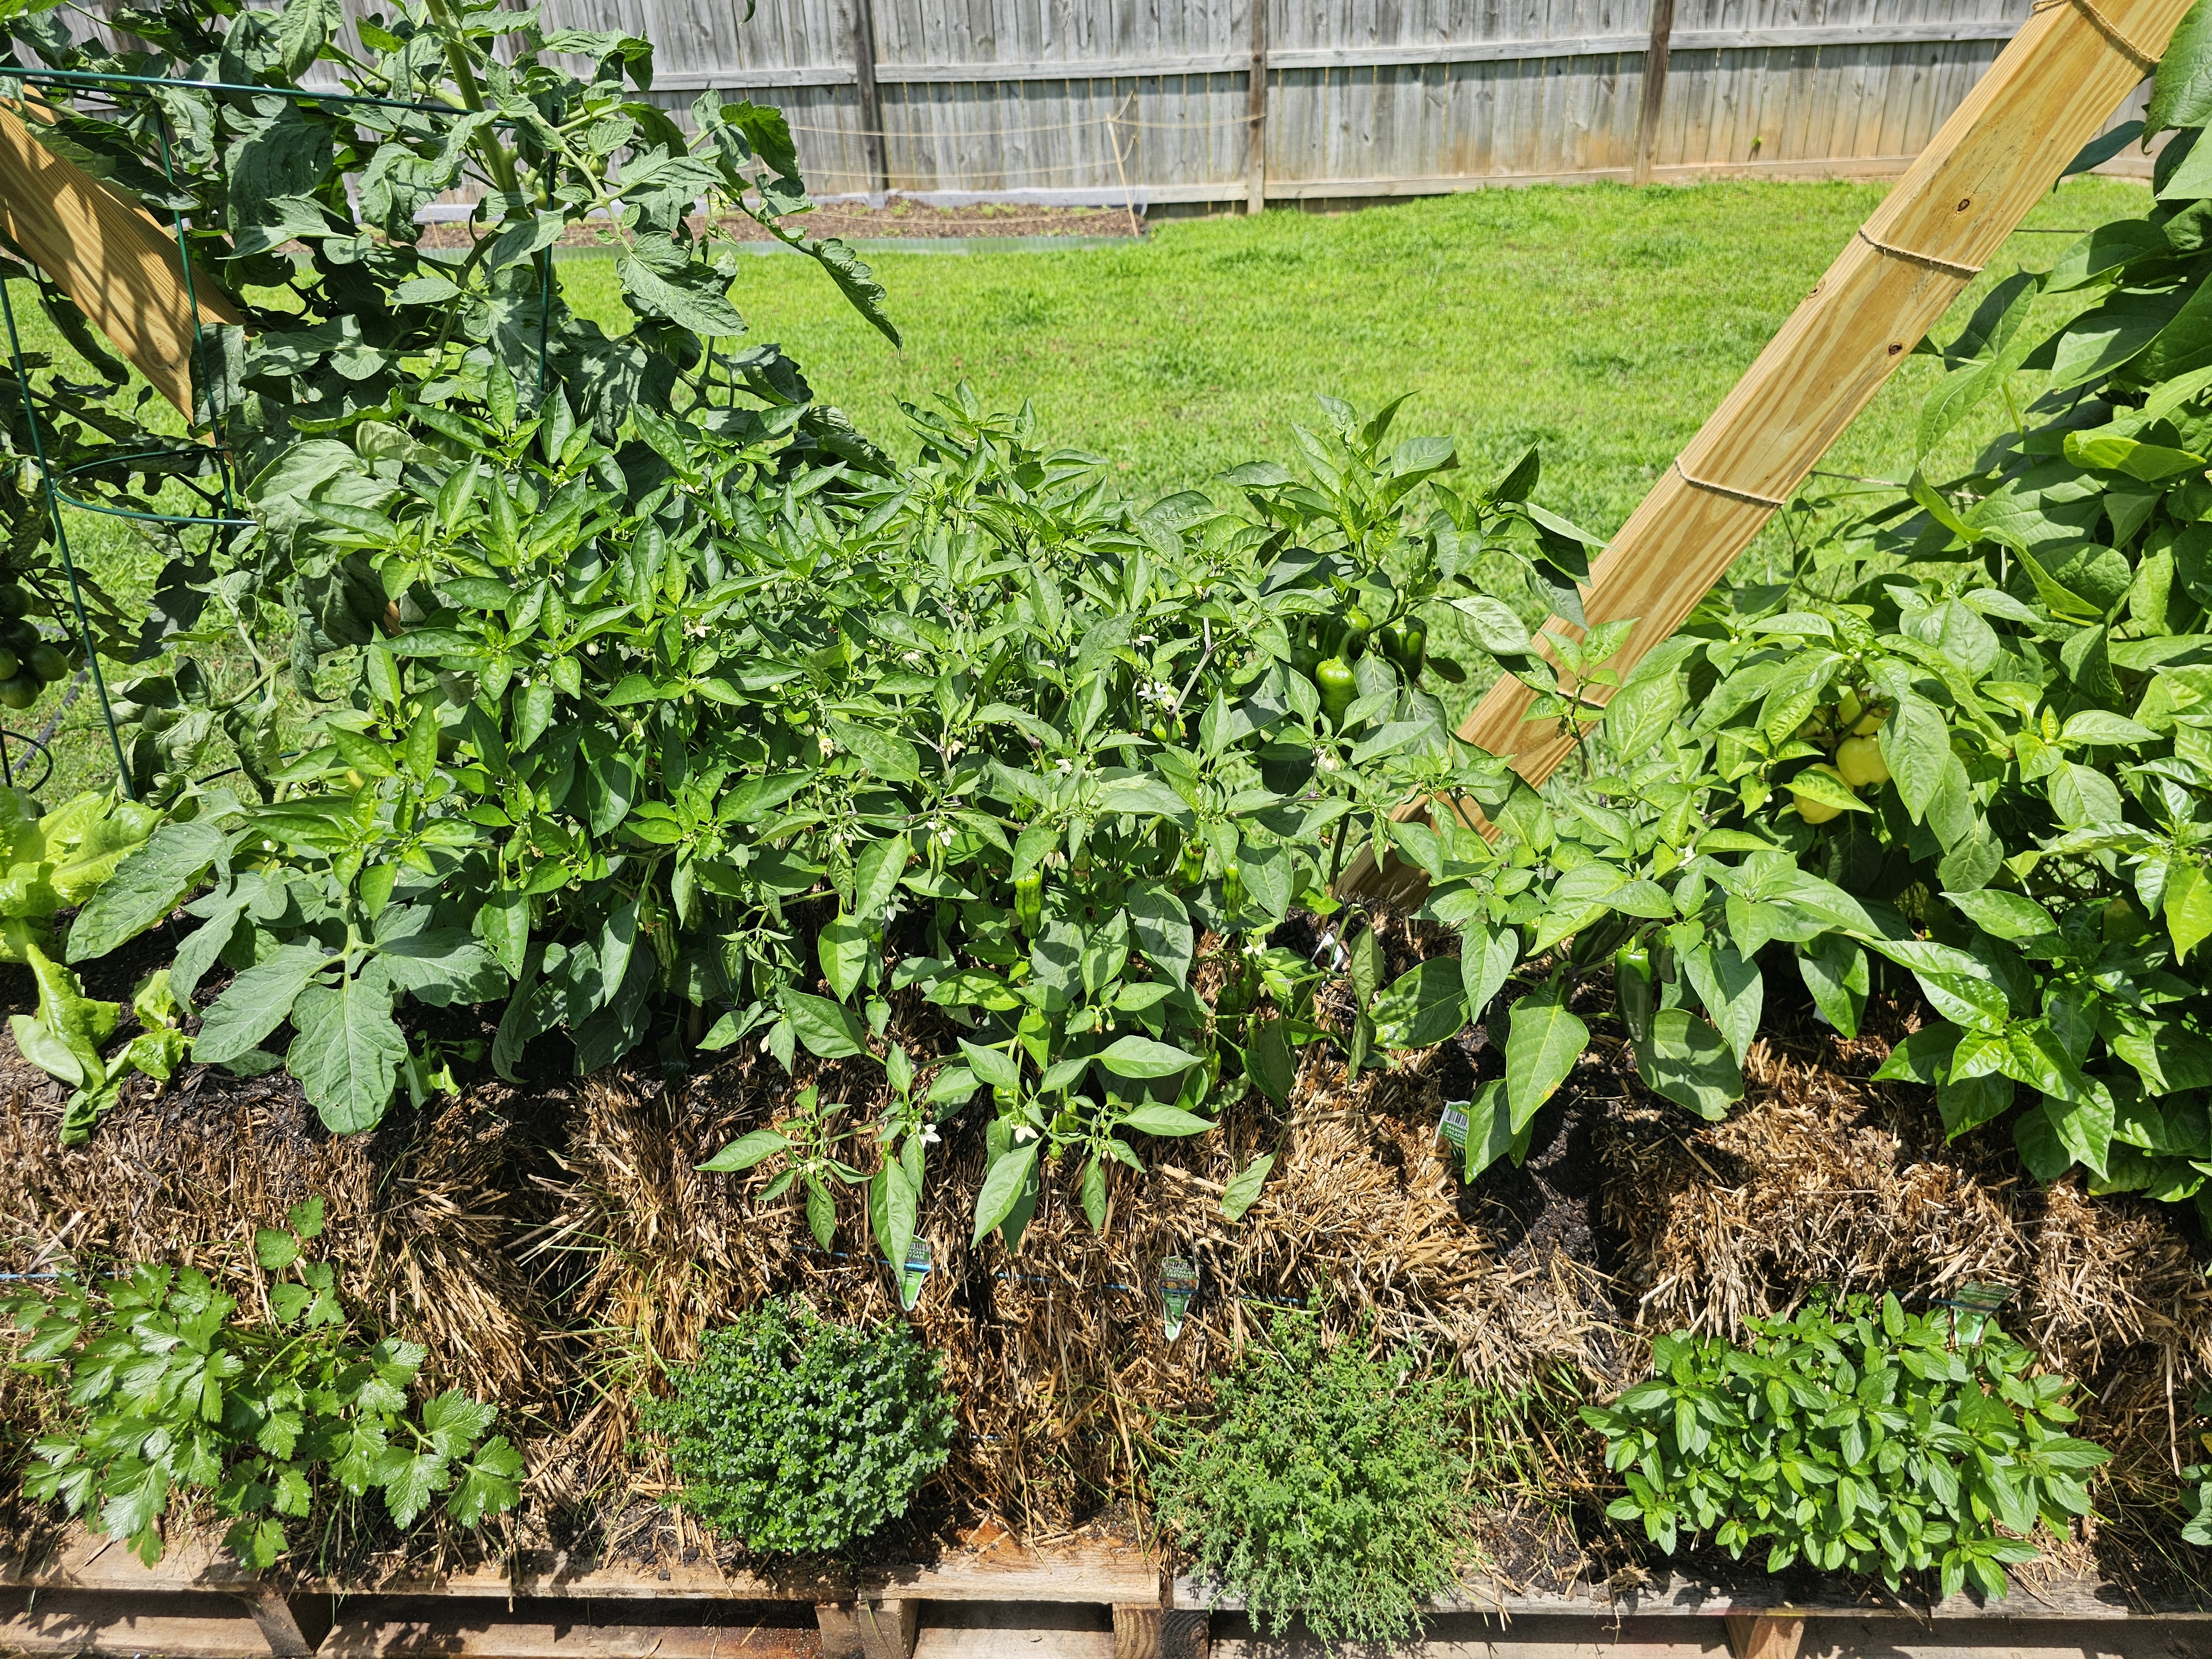
🌟 Crop Selection for Guaranteed Success
Superstar Crops: Heat-loving crops thrive in straw bales due to consistent root zone warming. Tomatoes, peppers, and eggplant perform exceptionally well, often producing yields that surpass soil-grown plants.
Top Performers:
- Tomatoes (especially determinate varieties)
- Peppers and eggplant
- Cucumbers and squash (with support)
- Beans and peas
- Leafy greens (lettuce, spinach, kale)
- Herbs (basil, parsley, cilantro)
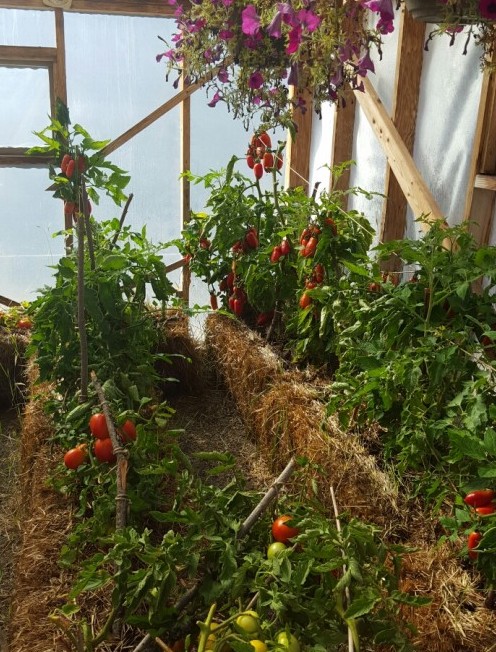
Mature straw bale garden showing the incredible productivity possible
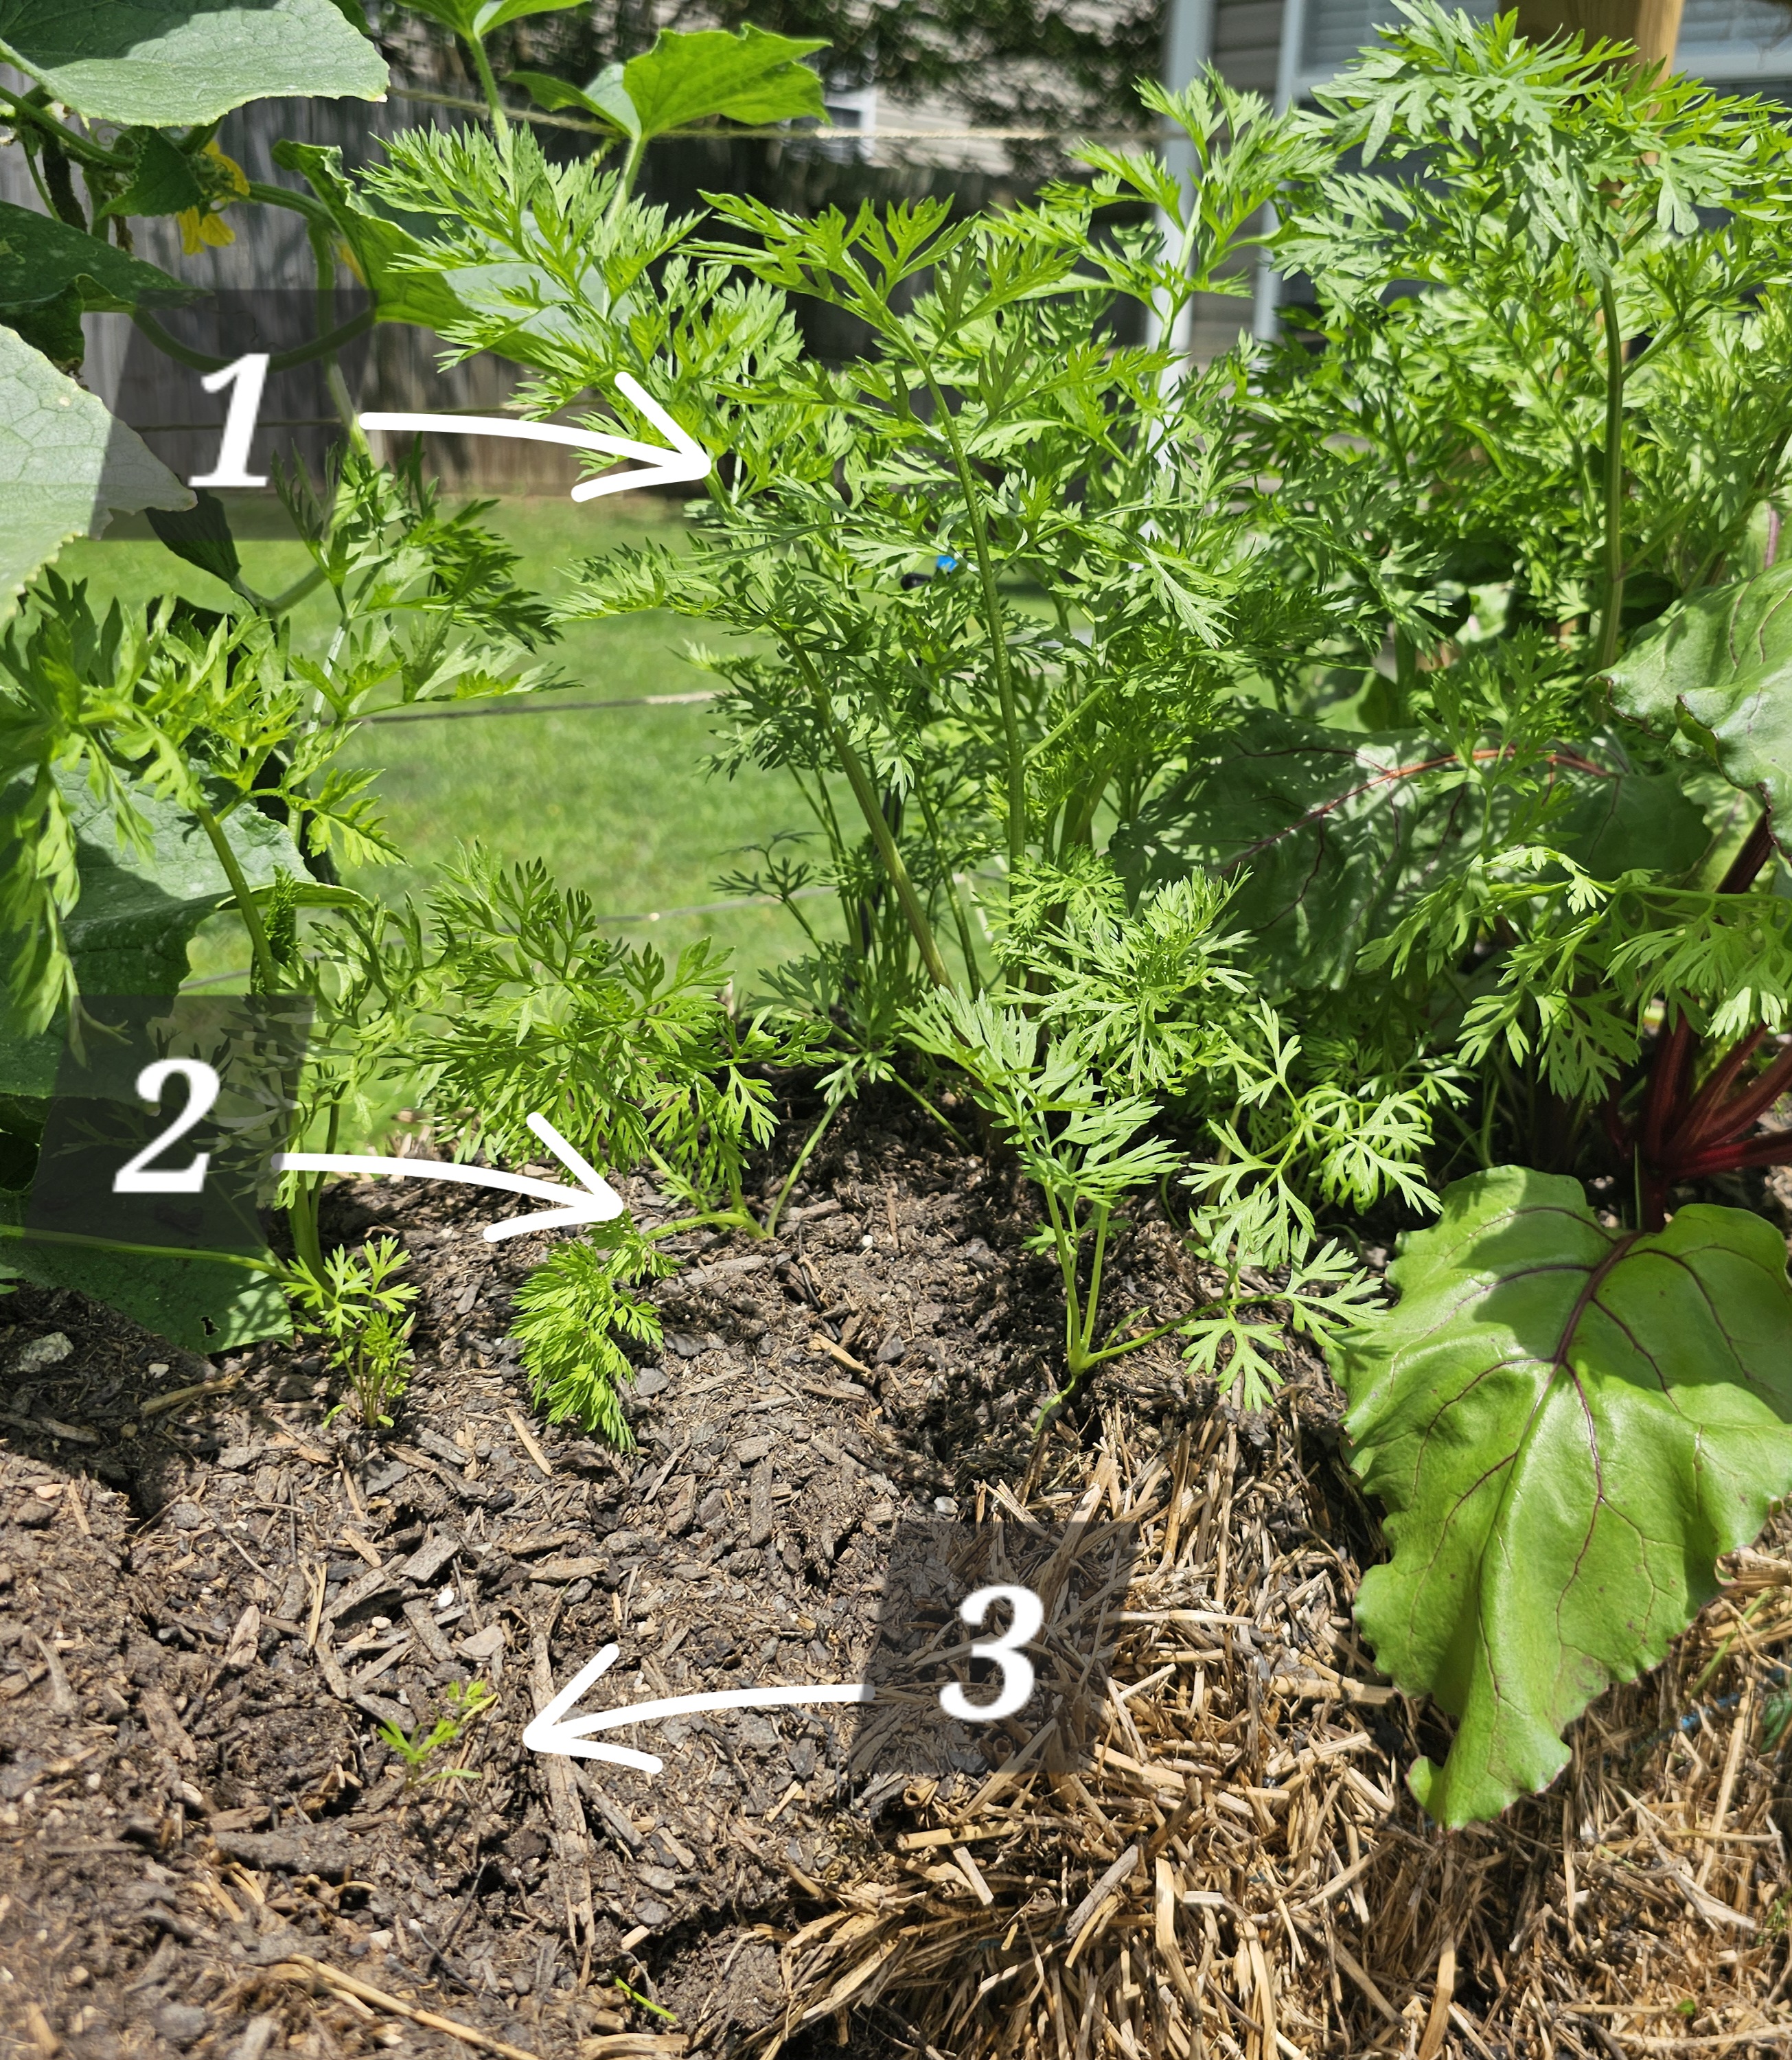
❌ Avoid These Crops
Sweet corn grows too tall and top-heavy for bale stability. Root vegetables like carrots and beets struggle in the loose straw environment, though some gardeners report success with careful technique.
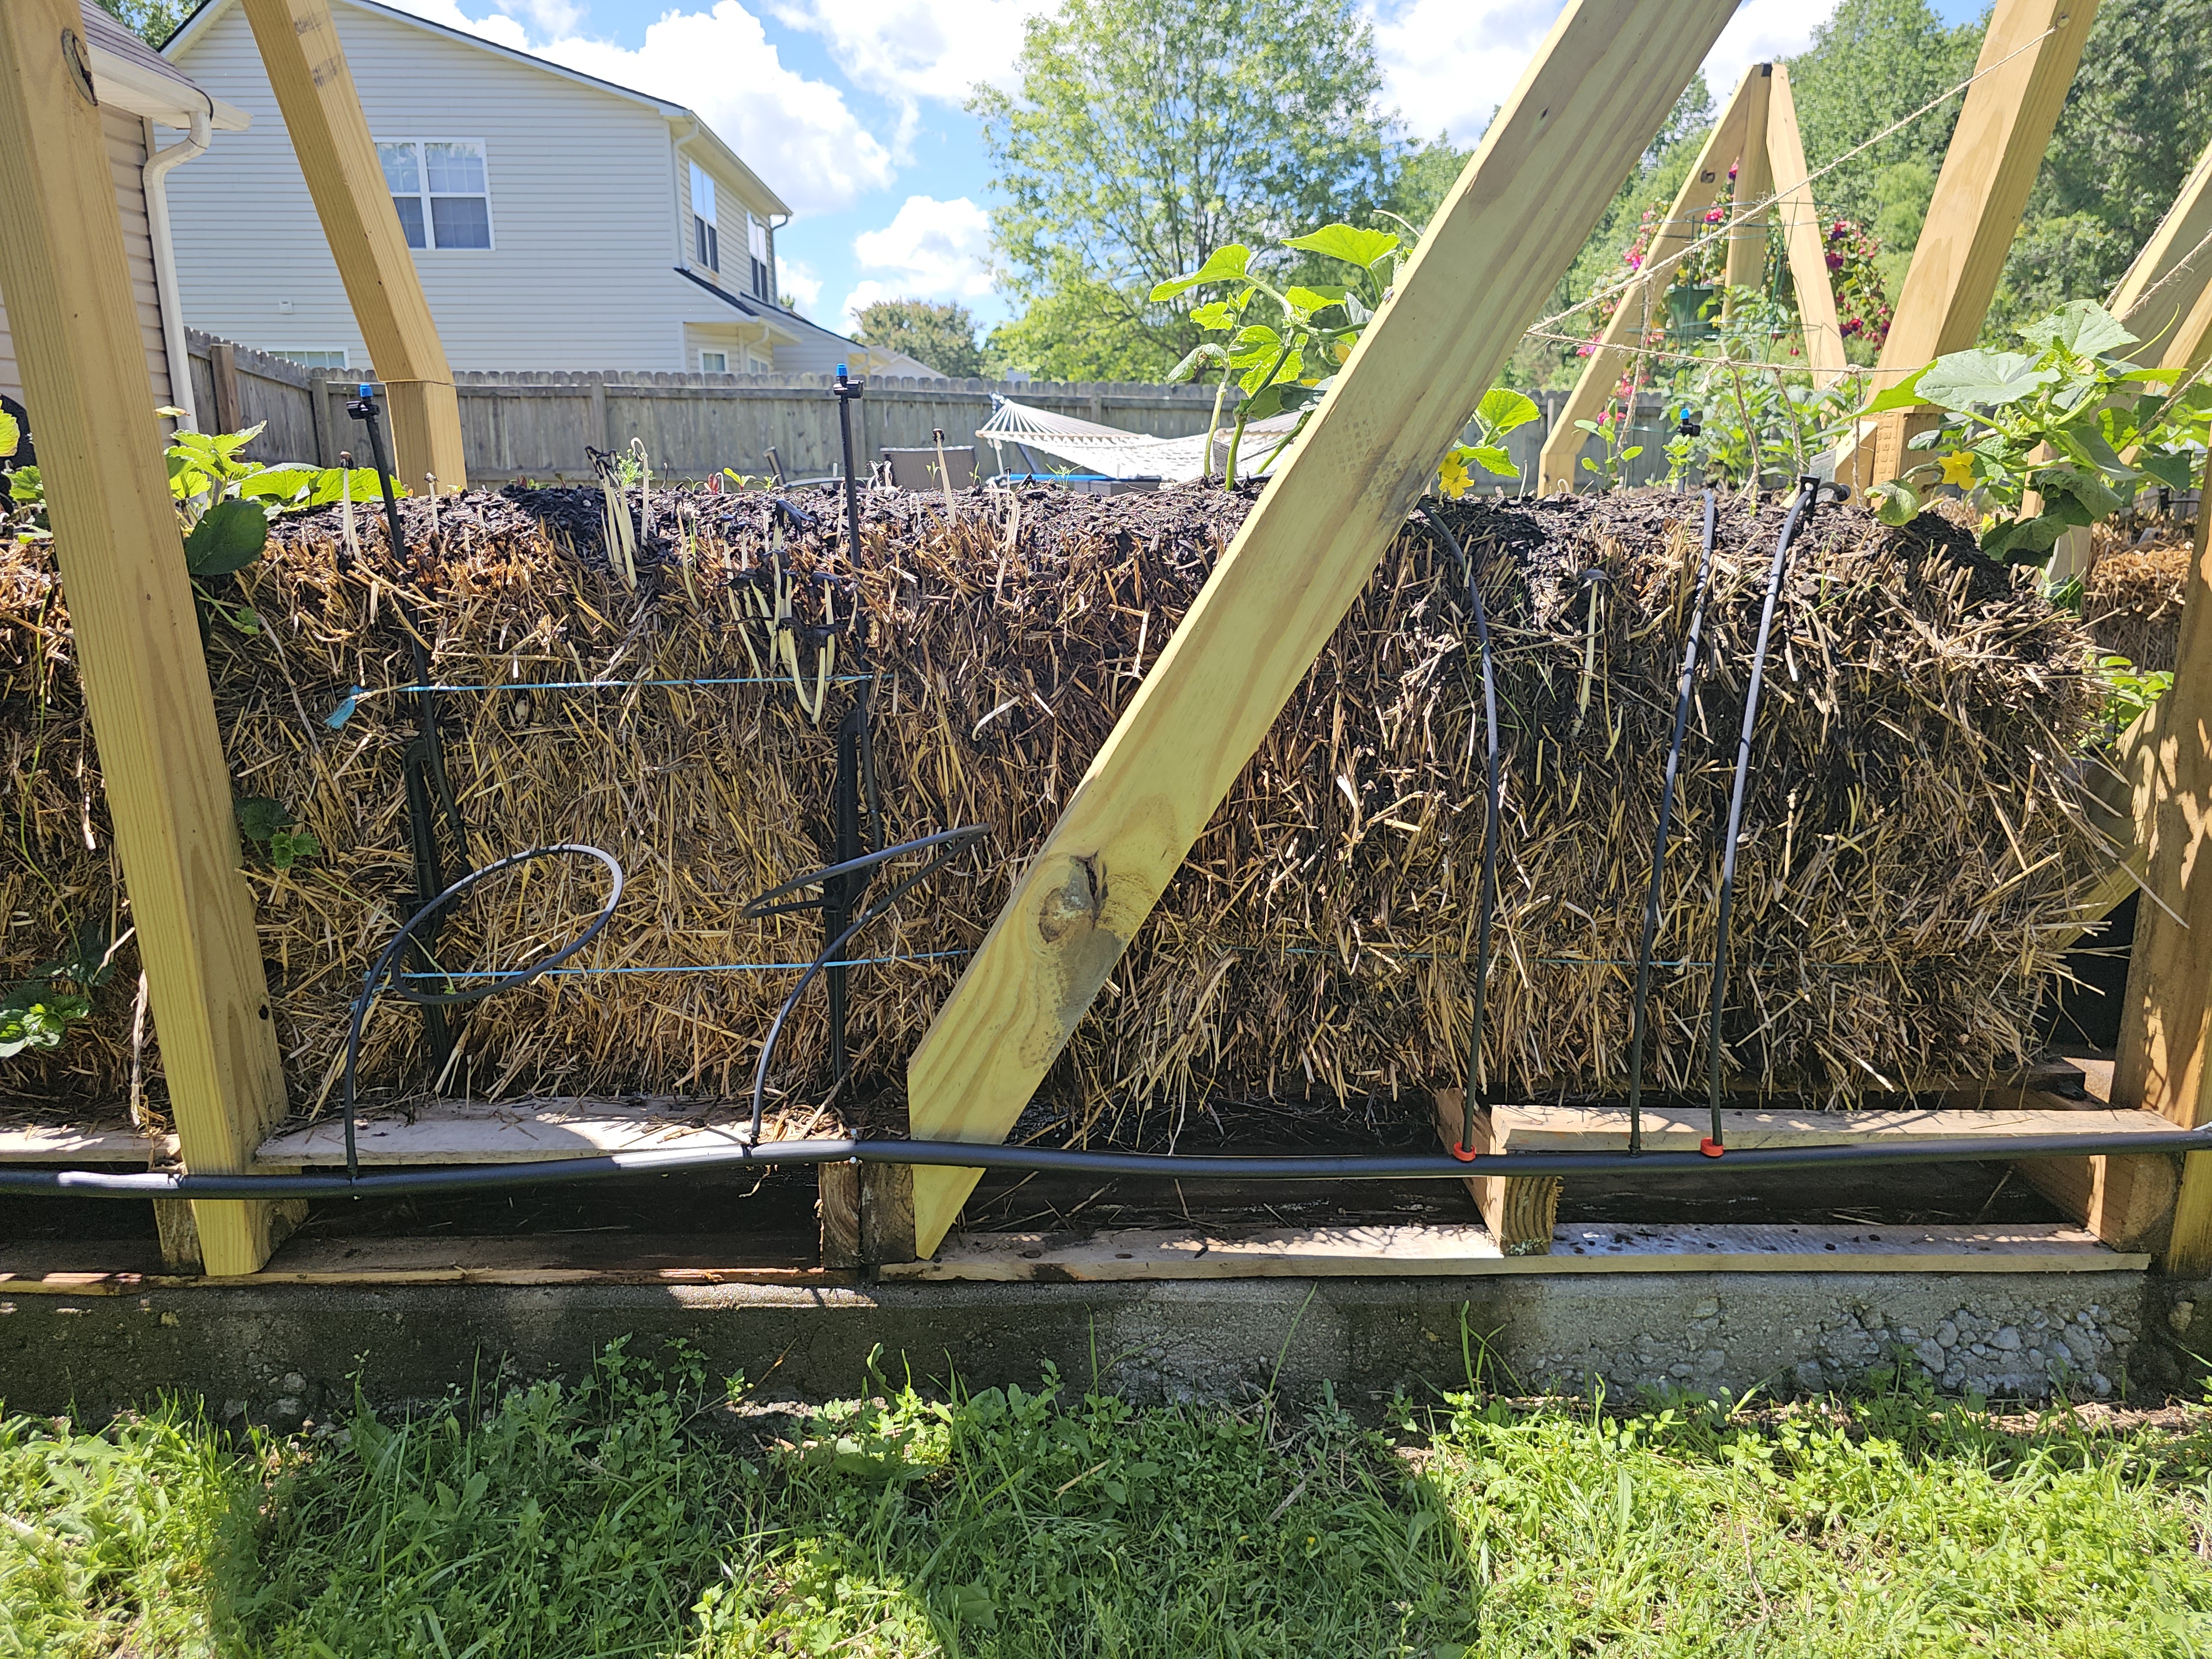
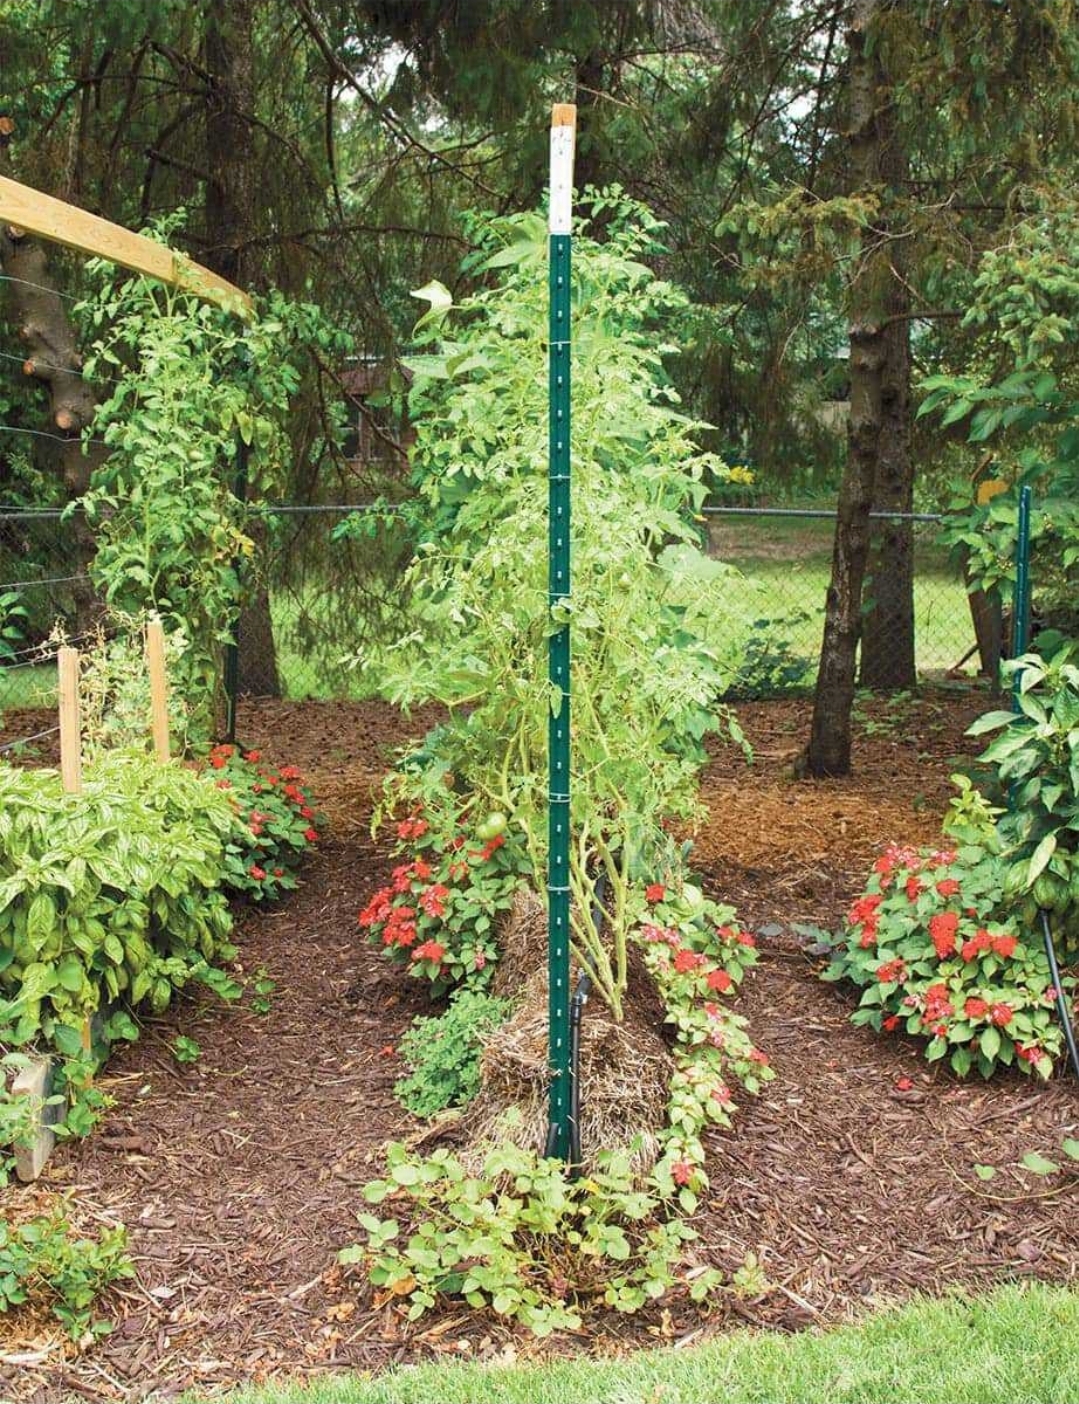
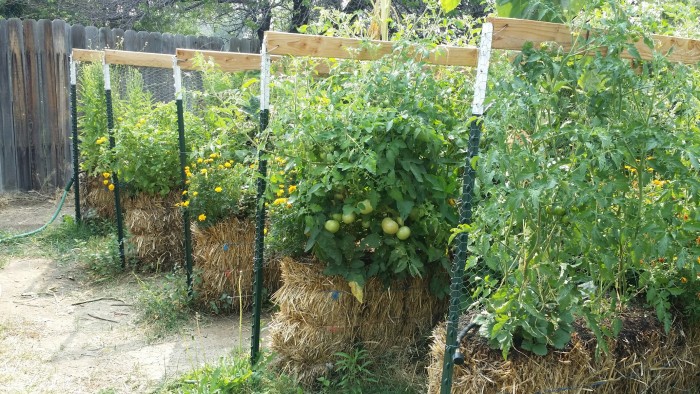
🏗️ Advanced Support Systems
The T-Post System (Most Reliable)
Drive 6-7 foot steel T-posts into the ground at each end of your bale row. Connect with 14-gauge wire or strong twine, creating horizontal support lines at 18-inch intervals.
This system prevents plant toppling as bales decompose throughout the season.
Trellis Integration
Cattle panel trellises work excellently for vining crops. Arch the panels over bales, securing ends with stakes driven into the ground. This creates a tunnel system that maximizes growing space while providing robust support.
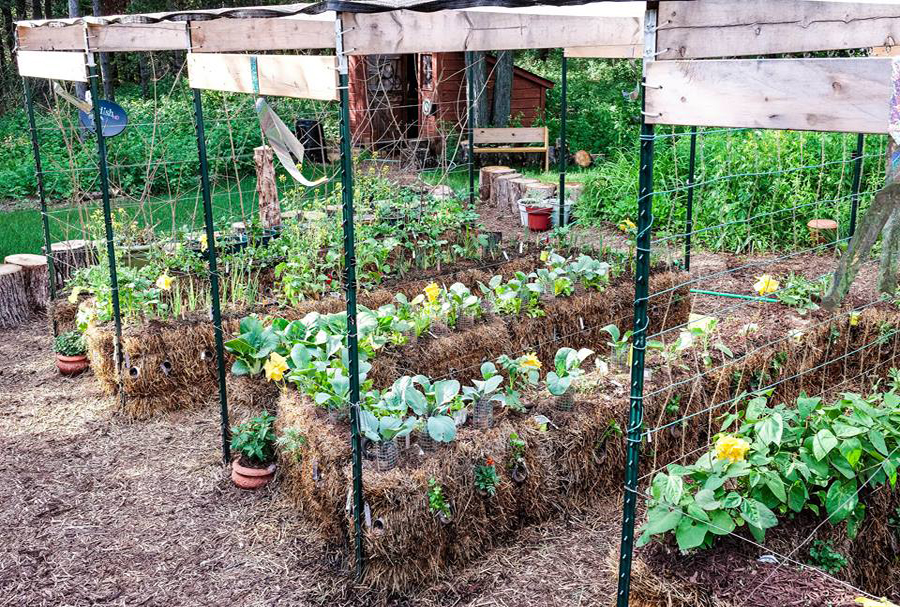
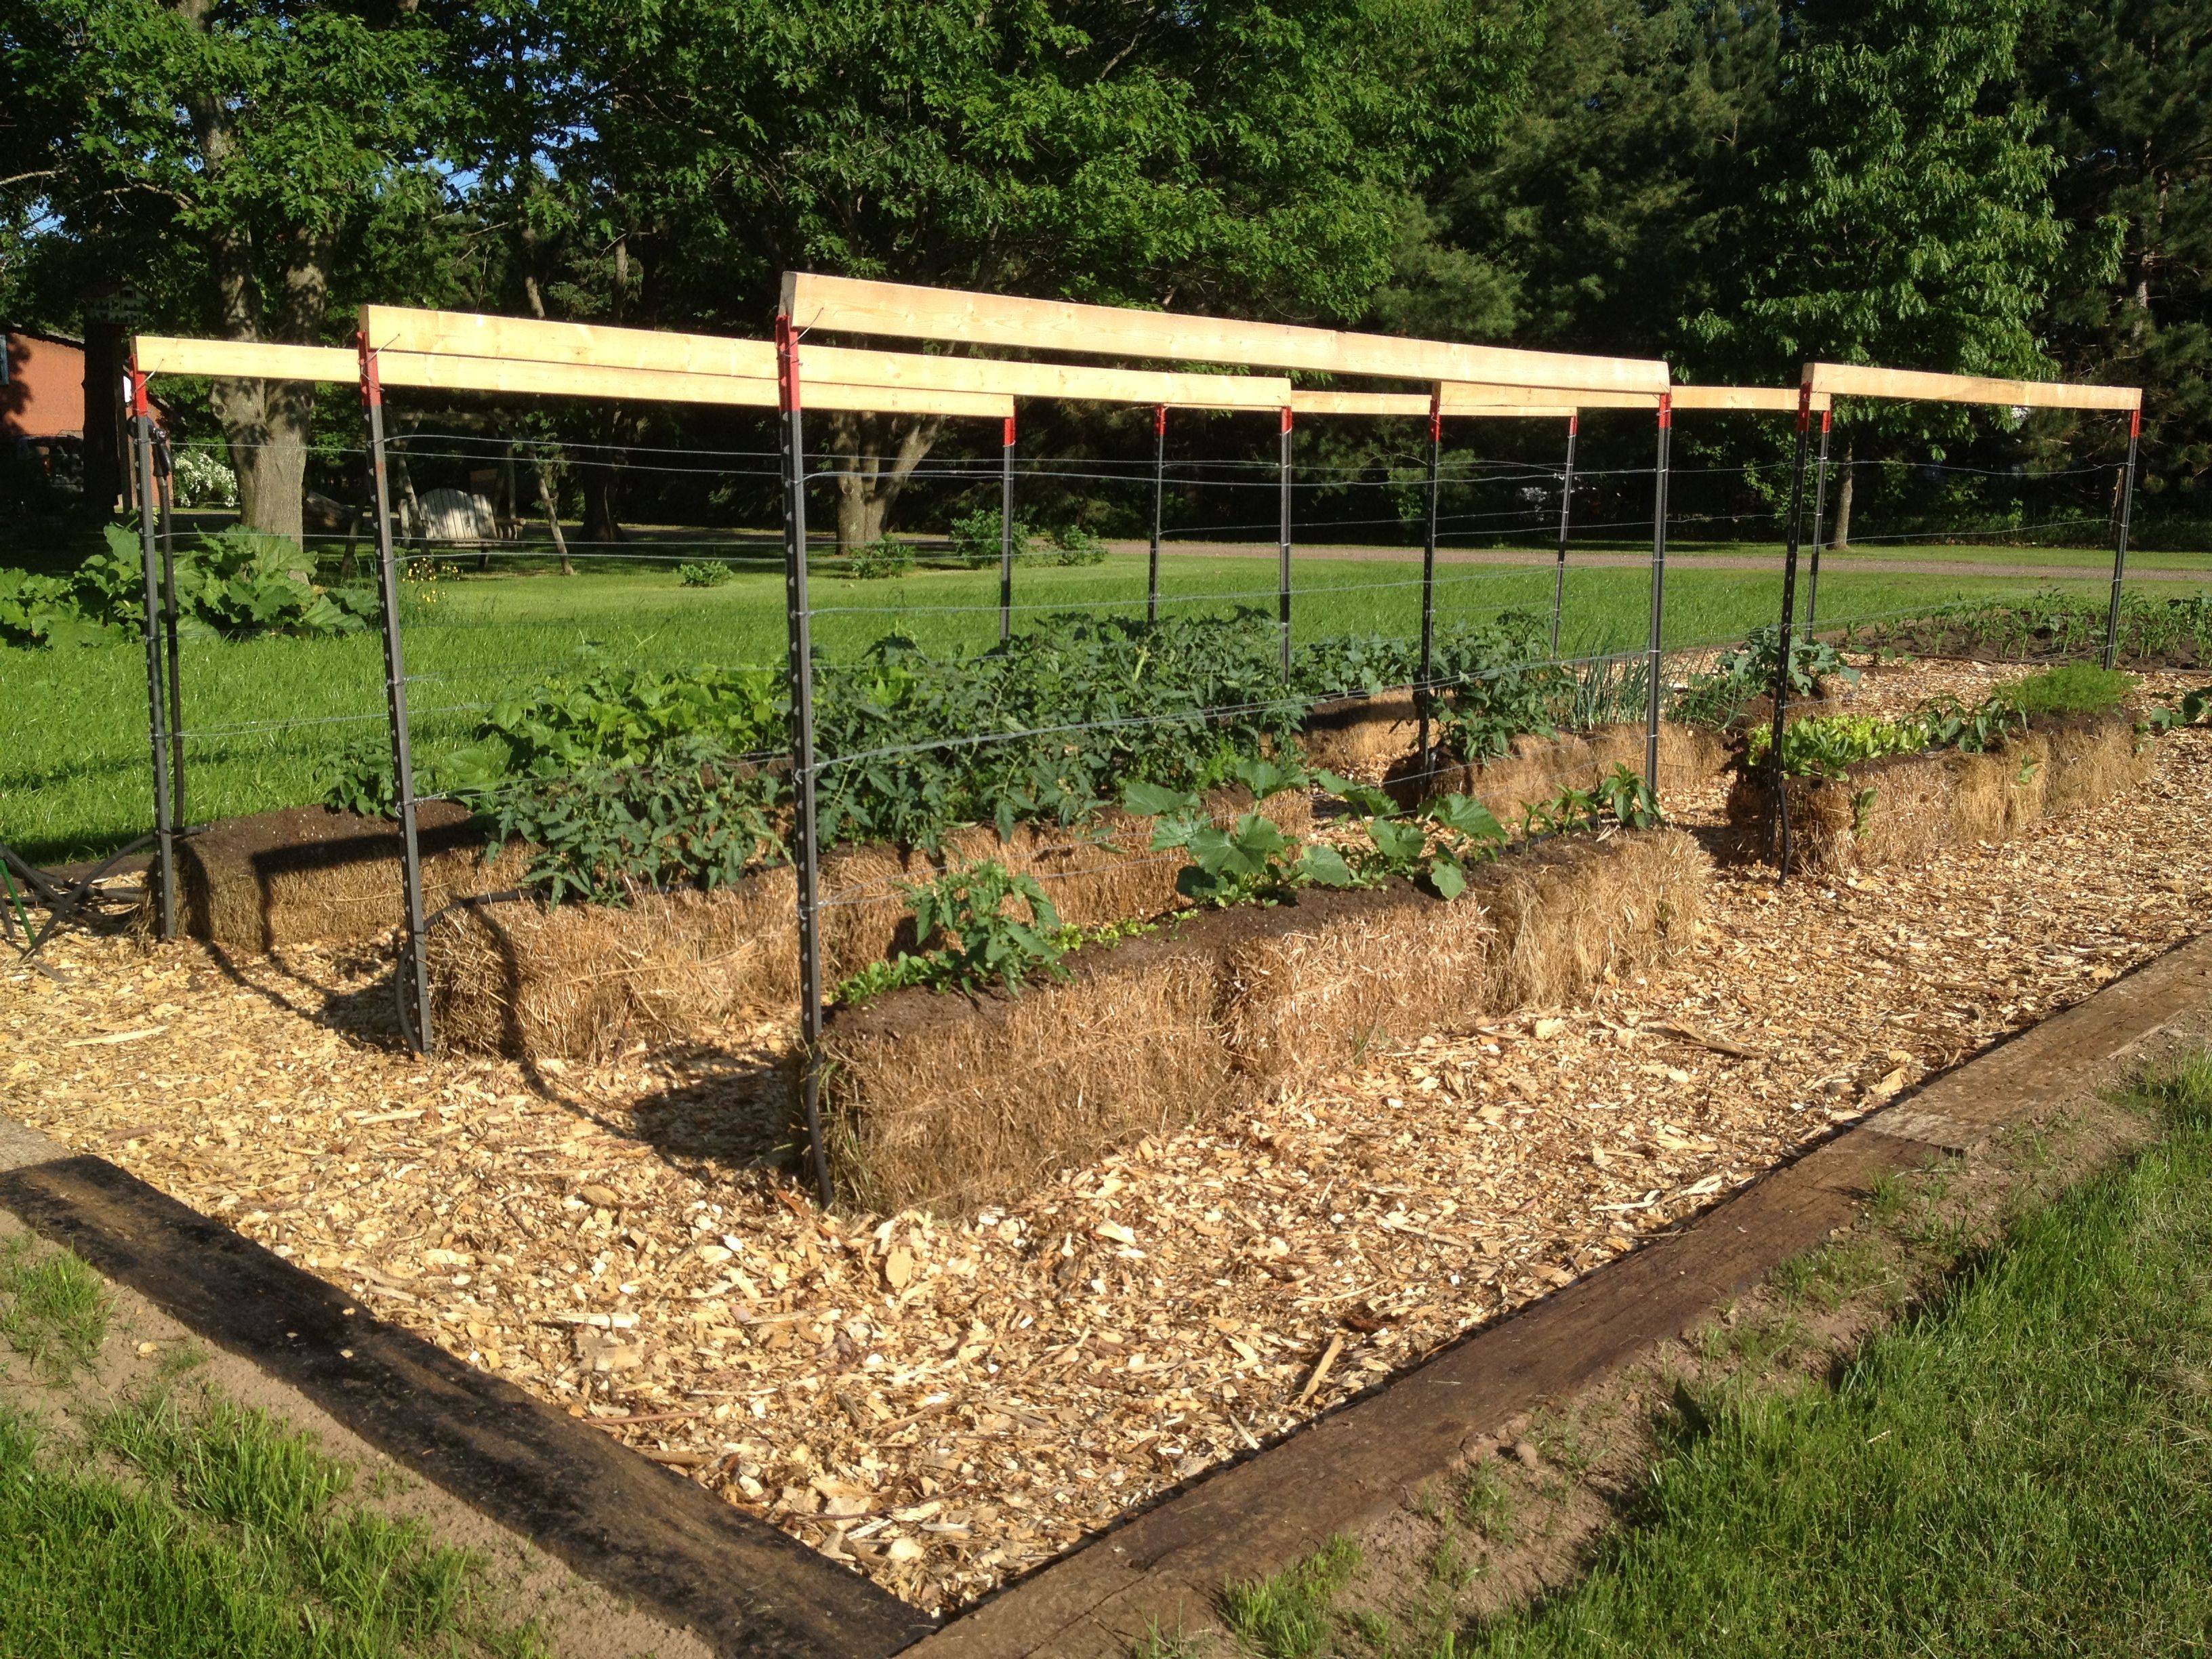
Professional trellis system supporting vining crops in straw bale garden
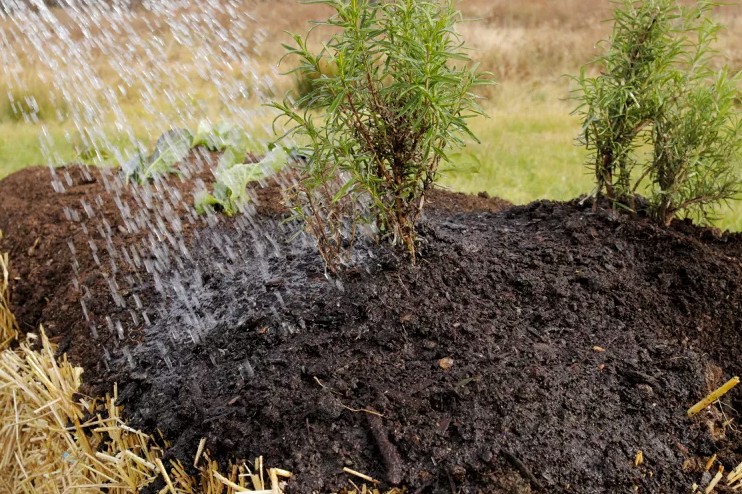
💧 Water and Nutrition Mastery
Watering Protocol
The Golden Rule: Straw bale gardens require 20-30% more water than traditional soil raised bed gardens - expect to provide 1-1.5 gallons per bale daily during peak growing season.
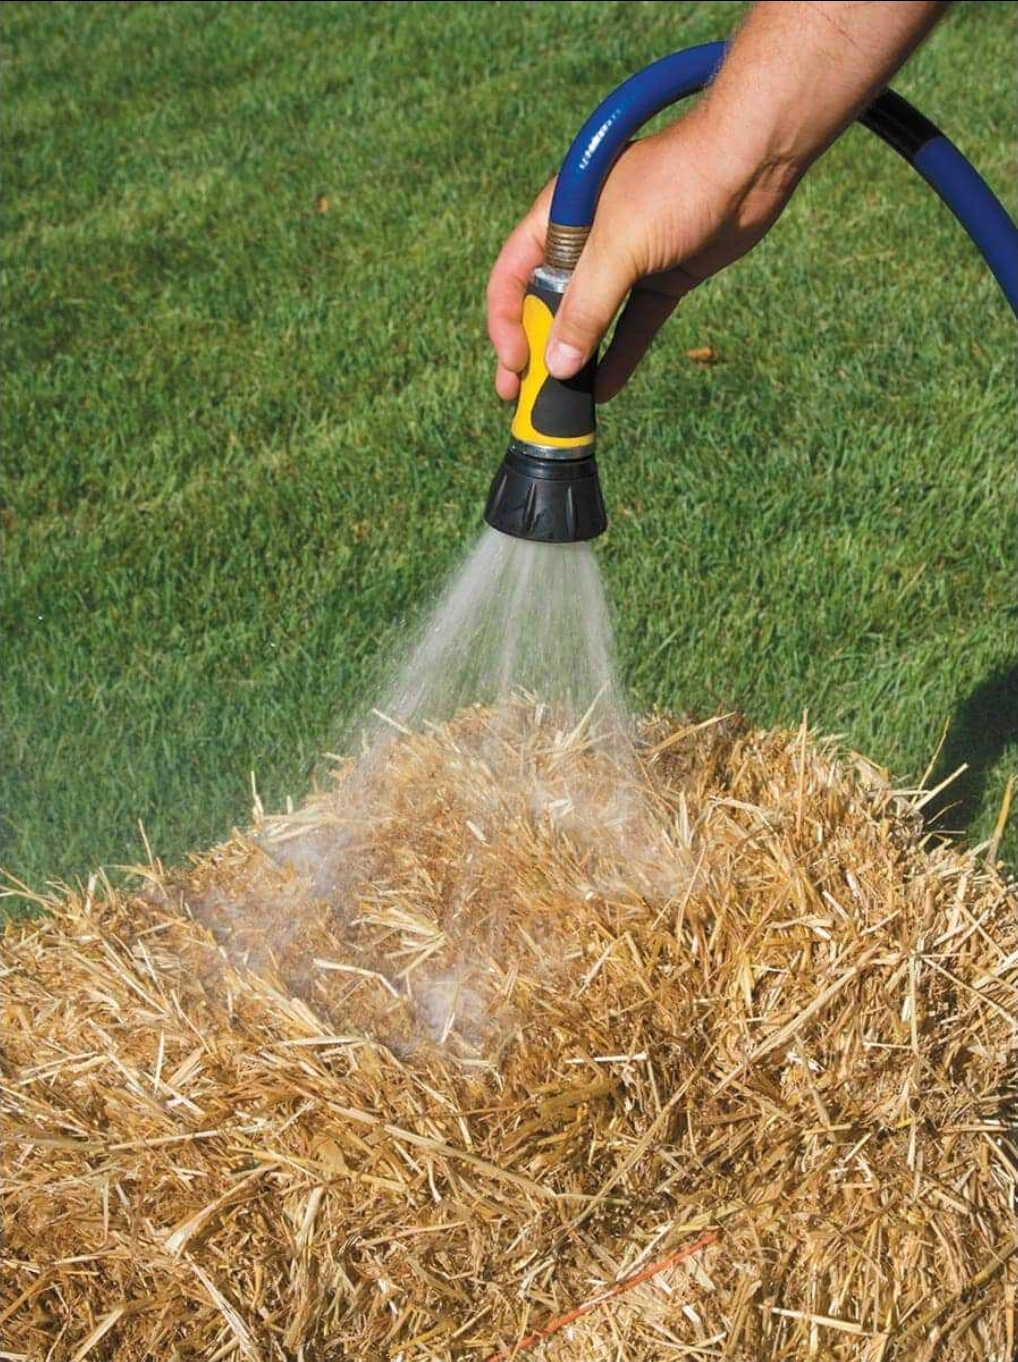
Proper watering technique - deep soaking until water runs from the bottom
Irrigation Solutions
Drip System (Recommended): Install ½-inch main supply lines with 2-4 GPH emitters positioned every 12-18 inches. Add a pressure regulator set to 25 PSI and an automatic timer for consistent watering.
Drip irrigation system - the professional solution for consistent watering
Soaker Hose Alternative: Lay ½-inch soaker hoses across bale tops, connecting multiple bales with Y-fittings. While less expensive than drip systems, soaker hoses typically last only 1-2 seasons.
Fertilization Strategy
🌱 Ongoing Nutrition
Straw bales require more fertilization than traditional gardens because the decomposing straw has no inherent nutrient value. The conditioning process creates the growing medium, but ongoing nutrition must be provided throughout the season.
Weekly Liquid Feeding: Apply balanced liquid fertilizer (10-10-10 or similar) diluted to half-strength every 7-10 days.
Monthly Boost: Supplement liquid feeding with ⅔-1 cup granular balanced fertilizer per bale monthly. Punch holes in bales with a steel rod to improve penetration, then water thoroughly.
Weekly liquid fertilization keeps plants thriving throughout the season
🌡️ Climate Adaptations
Cold Climate Success (Zones 6 and Below)
Begin conditioning 20+ days before the last frost date, using warm water to accelerate bacterial activity (see Season Extension section for advanced cold-weather techniques). Cover bales with black plastic during conditioning to increase heat absorption.
❄️ Season Extension
The internal heat of bales allows earlier planting and later harvests than traditional gardens. You can often start planting 2-3 weeks before your last frost date if you start conditioning your bale early. You'll need a way to tent black plastic over the bales to capture heat and support early seedlings.
I've personally conditioned bales in the 20°F Madison, WI winters and had seeds sprouting while it was snowing outside. If you tent and wrap the bales, they maintain a ton of heat. Be careful to wait to plant seeds/seedlings until the bale drops to 80°F.
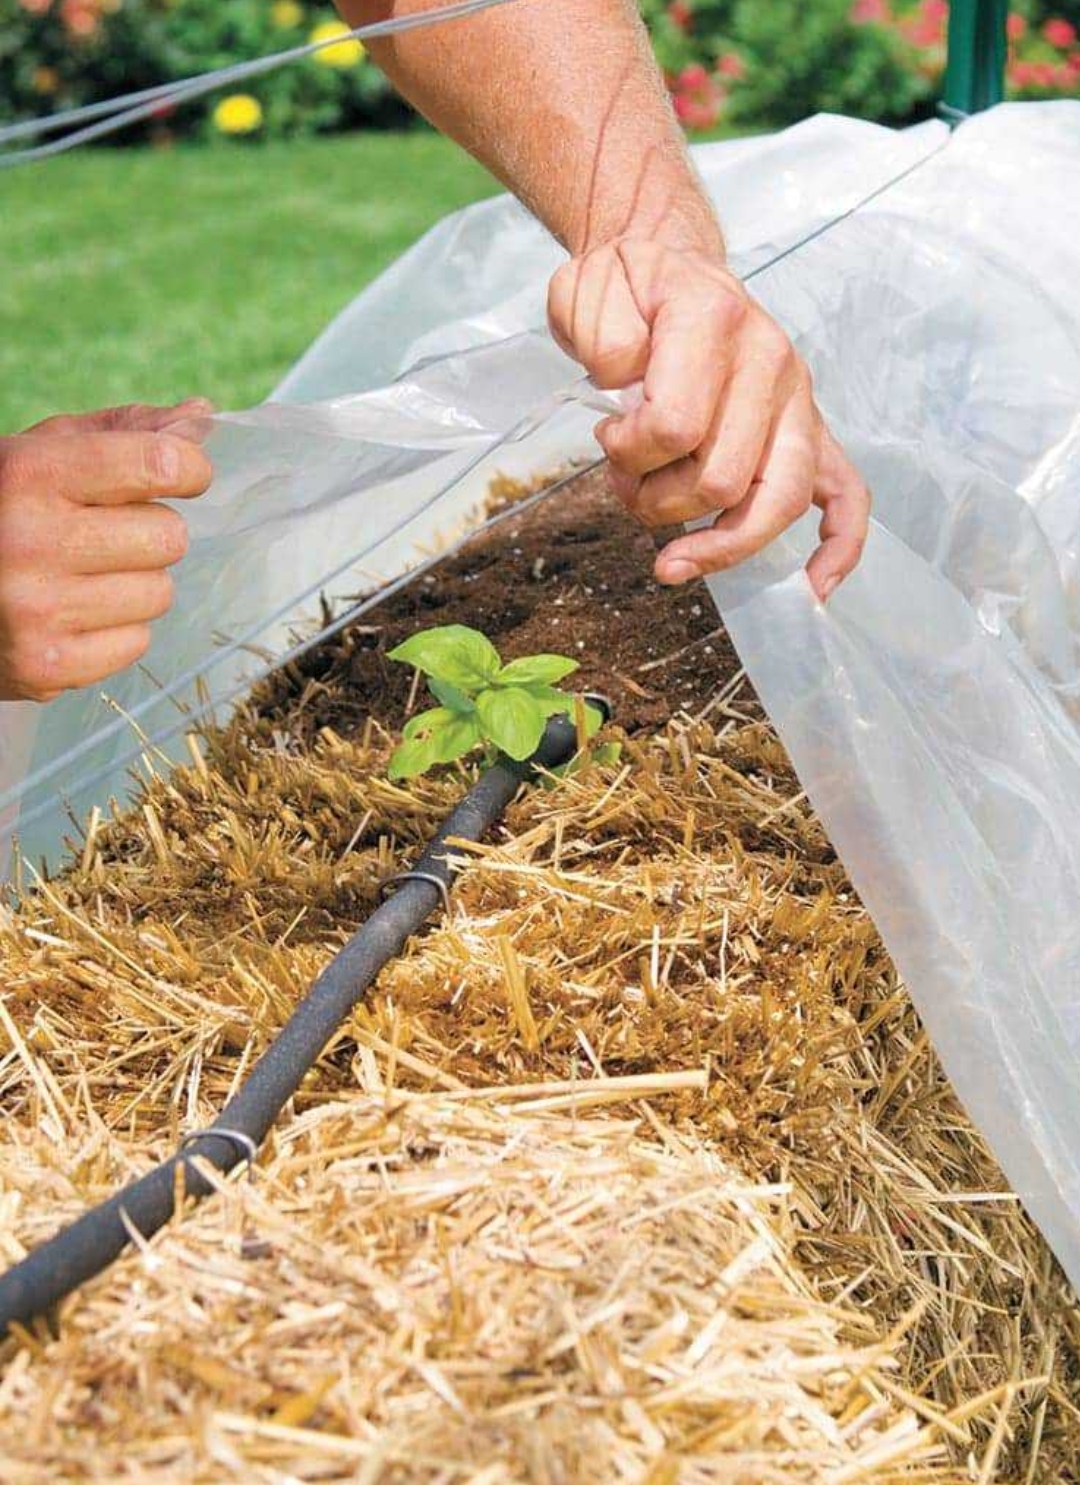
Cold climate setup with protection measures for extended growing season
Hot Climate Considerations
Locate bales near reliable water sources, as daily watering becomes critical. The natural evaporation provides cooling effects that can extend cool-season crop production through summer heat.
Heat Protection: Provide temporary shade during extreme heat waves above 110°F.
Hot climate adaptation with shade protection during extreme temperatures
Seasonal Planning Timeline
- Spring Prep: Start spring conditioning 2-3 weeks before your last frost date (see Season Extension section for advanced cold-weather options). Plant cool-season crops as soon as internal temperatures drop to 80°F.
- Summer Transition: Warm-season crops wait until after all frost danger passes. Plan succession plantings every 2-3 weeks for continuous harvest.
💰 Cost Analysis and ROI
Initial Investment
Initial investment in straw bale gardening ranges from $20-30 per bale including conditioning materials and support structures. A typical 4-bale garden costs $80-120 to establish, significantly less than equivalent raised bed construction.
| Item | Cost per Bale | 4-Bale Garden Total |
|---|---|---|
| Straw Bale | $5-8 | $20-32 |
| Conditioning Fertilizer | $8-12 | $32-48 |
| Support Materials | $5-8 | $20-32 |
| Seeds/Plants | $2-5 | $8-20 |
| Total Initial Cost | $20-33 | $80-132 |
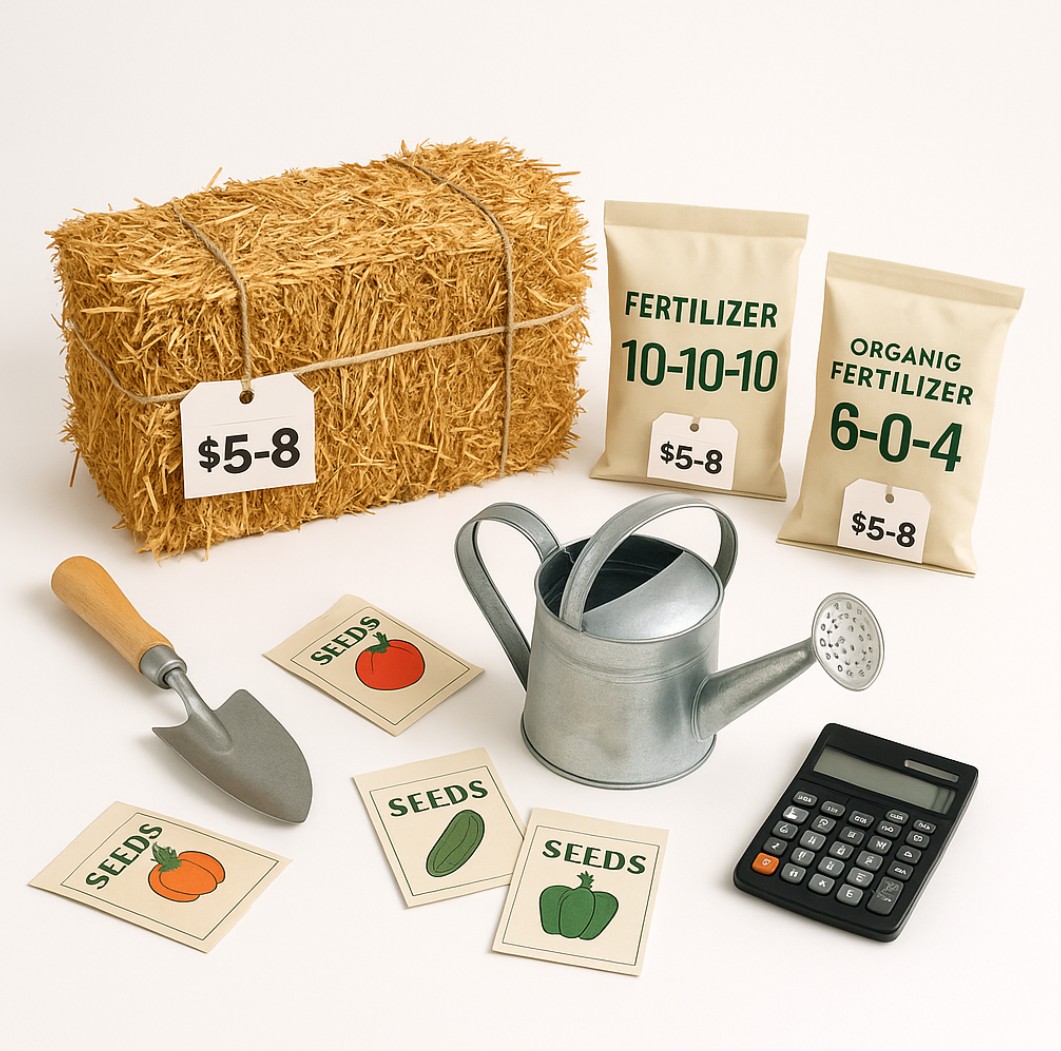
Complete material investment - affordable gardening solution
Annual Operating Costs:
- Bale replacement: $5-15 per bale
- Fertilizer: $10-15 per bale per season
- Water: Variable based on local rates
- Total annual cost: $60-120 for 4-bale garden
Productivity Returns
Well-managed straw bale gardens can produce 50-100+ pounds of tomatoes per bale, with total seasonal yields of $200-400+ worth of produce from a 4-bale garden.
💡 Break-Even Analysis
The break-even point versus raised beds occurs after 5-7 years, making straw bales ideal for short-term or rental property gardening. Most gardeners recover their investment in the first season through produce savings!
🎯 Advanced Techniques and Troubleshooting
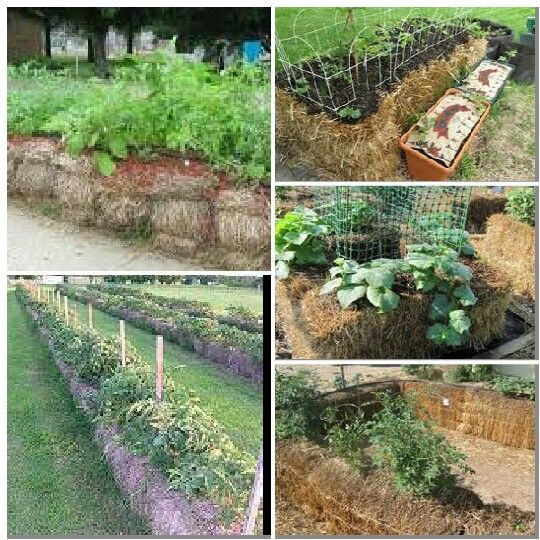
Vertical Growing Maximization
Plant herbs and leafy greens in the sides of bales to double growing space. Create pockets by removing straw and backfilling with compost.
Vertical growing technique - maximizing space by planting in bale sides
Succession Planting Strategies
Remove mature plants and immediately replant the same space with seeds and fresh compost. Straw bales support continuous production throughout the growing season with proper planning.
Succession planting - continuous harvest throughout the growing season
Common Problems and Solutions
🍄 Mushroom Growth
Mushroom growth indicates normal decomposition - simply remove them if aesthetically objectionable. This is actually a sign your bales are working perfectly!
⚠️ Troubleshooting Guide
- Bales falling apart: Re-tie with additional twine or secure with wooden frames
- Slow plant growth: Usually indicates nitrogen deficiency requiring immediate liquid fertilization
- Plants yellowing: Add nitrogen immediately - blood meal works fastest
- Dry bales: Increase watering frequency, consider drip irrigation
Pest and Disease Management
Straw bale gardens experience significantly fewer soil-borne diseases than traditional gardens. Elevation reduces ground-dwelling pest problems, though slug control may be necessary in humid climates.
Elevated growing reduces pest problems and soil-borne diseases
☂️ End-of-Season Planning and Bale Recycling
Bale Recycling and Compost Value
Straw bales typically last one full growing season, with partial decomposition creating excellent compost material. Some bales in colder climates maintain structural integrity for a second season, particularly when used for root crops in the decomposed material.
💰 Compost Gold
Decomposed bales create premium compost worth $50-100+ per cubic yard. Spread the material around perennial plants or incorporate into traditional garden beds for long-term soil improvement.

End-of-season bales become valuable compost material
Multi-Year Planning
Consider straw bale gardening as part of a rotation system, using bales for intensive production then spreading the decomposed material to improve permanent garden areas. This approach combines the benefits of both methods while building long-term soil health.
🏆 Your Straw Bale Success Blueprint
You now have everything you need to join the straw bale revolution. This isn't just about growing vegetables—it's about reclaiming the joy of gardening.
Your success story begins - abundant harvest from smart gardening
Imagine stepping into your backyard and harvesting fresh tomatoes, crisp lettuce, and aromatic herbs from clean, productive bales that work harder than traditional gardens ever could. Picture the satisfaction of bypassing soil problems, weather challenges, and space limitations that stop other gardeners.
🌱 Your Journey Starts with a Single Bale
Choose your location, source your materials, and begin conditioning. In just 12-18 days, you'll have a living, breathing growing system that will amaze you with its productivity.
Quick Start Checklist:
- ✅ Choose your location - 6+ hours sun, water access
- ✅ Source quality bales - wheat/barley/oat straw, avoid hay
- ✅ Gather conditioning materials - high-nitrogen fertilizer, balanced fertilizer
- ✅ Start conditioning process - follow 12-day protocol exactly
- ✅ Monitor temperature - wait for 99°F before planting
- ✅ Plant your crops - start with easy winners like tomatoes and peppers
- ✅ Set up support systems - T-posts and wire for stability
- ✅ Establish watering routine - daily during peak season
- ✅ Weekly fertilization - liquid feed for continuous nutrition
- ✅ Enjoy the harvest! - and plan next season's expansion
Ready to Transform Your Growing Game?
Join thousands of smart gardeners who've discovered the straw bale advantage
Get Weekly Growing TipsWhat's Next?
Ready to take your straw bale gardening to the next level? Visit RaisedBale.com for:
- Weekly tutorial videos showing advanced techniques
- Seasonal planting guides customized for your climate zone
- Community forum where experienced growers share tips and troubleshoot challenges
- Product recommendations for fertilizers, tools, and irrigation systems
- Garden planner tool to design your perfect bale layout
Join thousands of gardeners who've discovered that the best way to grow isn't in the ground—it's in the bales.
🌾 Let's Grow Bigger, Faster, Anywhere
Share your straw bale success! Tag us @RaisedBale and use #BuiltOnBales to inspire other gardeners making the switch.
Join the growing community of successful straw bale gardeners